Finally found time to install XBMC (or properly known as Raspbmc) in the Raspberry Pi I bought a while back.
Had a lot of fun (and learnings). Thought I would share the most important.. YES, the POWER SUPPLY. Not a joke 🙂
Let’s start !
First you need to install the Raspbmc software into a SD card. Using a SD card reader or your PC SD card reader. Do not be like me. Stupidly plug the SD Card into the Raspberry Pi and then plug the Raspberry Pi into the PC via the micro USB cable. Nope. Does not work. Not so complicated. Just plug the card into a SD Card Reader.
Go to this web page and download the Windows installer. Run the installer and you can get this:

Choose all these:

You will get this and click OK

And done 🙂

Now let’s go to the TV. A Class 10 GB SD card and a normal power supply made up of a micro USB cable and a USB charger lying around. I made sure the power supply met the requirements stated here at the wiki page. A power supply of at least a 1Amp charger @ 5V.


Plug these into the Raspberry Pi and connect to the HDMI and network cable at my TV area and we are already to go.. or so I thought 🙂

Beautiful when light up 🙂

Once you plug in, the Raspberry Pi will boot up and you will see a screen (black with white characters) that showed the boot up sequence. The first checkpoint is to reach this screen:
Welcome to Raspmbc:


Then downloading ROOT FILESYSTEM and grab a coffee (actually it is quite fast … HA)


And then installing ROOT FILESYSTEM…

But then it never got pass the 10% or so mark…before this Kernel Panic ! If you see this, this means the installation has FAILED !!

The error message is “Out of Memory. Kill Process 201” etc:

I thought it was an issue with the class 10 SD card so I swap the SD card (create a new installation on the SD card). I tried to use a Class 6 SD card but that did not worked too. I played around for a whole day and could not find a solution.

To make it easy for you, the answer was the POWER SUPPLY. The power supply was NOT good enough. I then changed it to an Apple iPad 2 charger (the irony…).
So I was using the set on the RIGHT hand side but now I changed to the LEFT hand side. The micro USB cable as also THICKER than the original one (think I got it from a Microsoft Phone charger but not so sure.. another irony)…

Rebooting again (and from the Class 10 SD card), this time, it make it pass the 10% mark and go all the way. YIPPEEEEE


Then these sequence of events:


And the magic words:

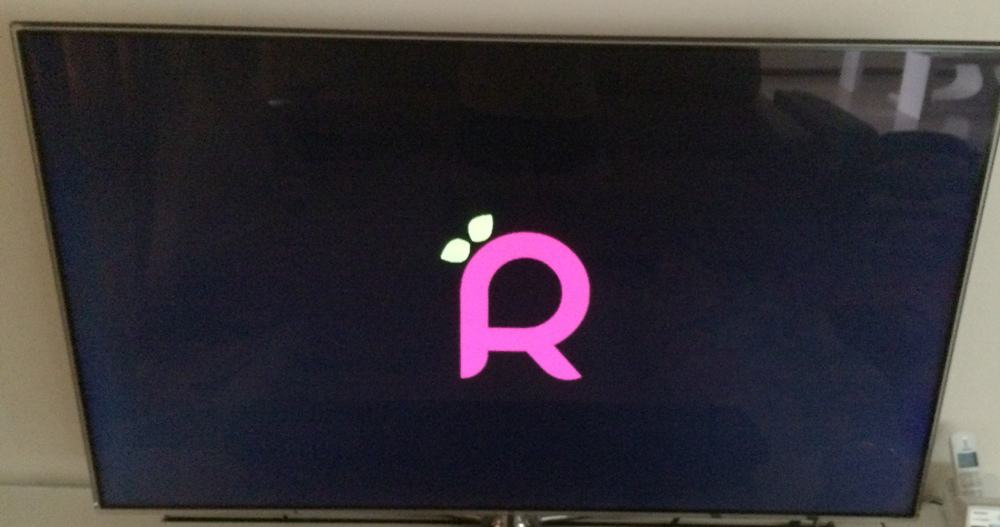
Rebooting and you should see the PINK Raspbmc logo 🙂

But more to come..


And finally the familiar beautiful XBMC ….


And then this menu… but wait, I have NO KEYBOARD, NO MOUSE and NO REMOTE CONTROL to control the XBMC..

I downloaded an Apple iPhone/iPad app called CONSTELLATION and it worked 🙂 On the application, you can very quickly find the Raspbmc installation

And once I am able to use the Apple app, the rest is the usual XBMC stuff.. YIPPEE 🙂


Will go ahead and set it up to read the files from my Synology. Will share if anything special but I doubt so.. this is just yet another XBMC on yet another different platform 🙂 🙂


