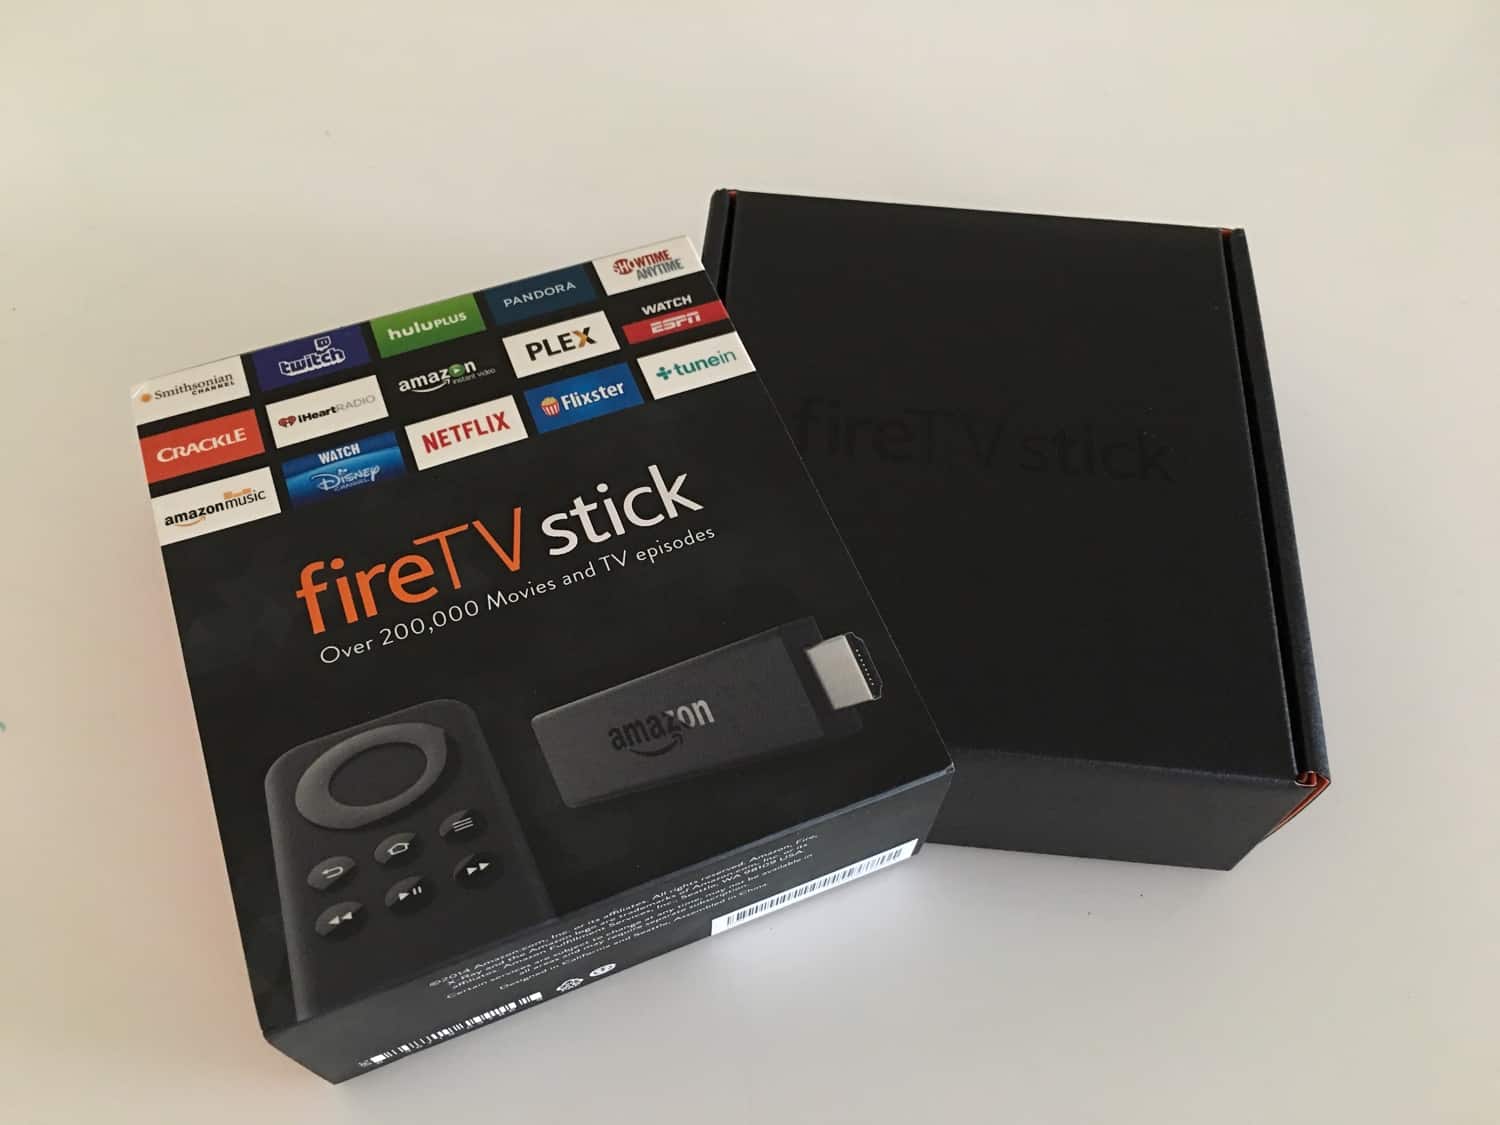
As you are aware, I have already installed XBMC on the excellent Amazon Fire TV and it works really well so far… at least for me as my needs are minimal (RMVB playing, MKV with DTS passthrough etc).
Let’s see how you can install XBMC on Amazon Fire TV.
The resources for installing XBMC on Amazon Fire TV are here:
- XBMC Wiki on Amazon Fire TV
- XBMC Forum Thread on Amazon Fire TV
- Ala Shiban EXCELLENT article on installing XBMC on Amazon Fire TV
100% of the credit goes to the three resources above. All I have done is shamelessly just adding a few photos to further explain the steps that I (me) did. So that you can follow along or enforce the real experts at the forum etc.
Step 1 : Enable Amazon Developer Debugging on the Fire TV
From the Fire TV Home screen, select Settings. Go to System -> Developer Options. Select ADB Debugging to turn it ON


Step 2 : Find out the IP address of your Fire TV
Go to System -> About -> Network, and take note of the Fire TV’s IP address
For me, it is 192.168.1.33 (NICE !)

Step 3 : Download and install the SDK for Android.
![]()
I downloaded the Windows 64 bit version and unzip it on my download folder. To make life easier, I renamed the top 2 folders to Amazon and Amazon1. This is optional.
Rename

To

Step 4 : Download the APKs for XBMC
Currently two APKs can be tried out. One is XBMC for Android (ARM) Nightlies (get builds from of after 17-Apr-2014). The other is SPMC 12.4.2. I recommend checking the Wiki for latest updates.
I, myself, used the XBMC Nightlies and it worked fine.
Here’s the key thing. After you download these (and un-zip), copy the APK files to the “\sdk\platform-tools” folder. Trust me, it makes life easier.
Example:

You will also notice I highlighted a keyboard.xml file. That’s to change the remote control buttons mapping on the Amazon Fire Box to something more relevant to XBMC. Optional but up to you. To do so, read this link.
Step 5: Connect to the Fire TV and install XBMC
Right click on the platform tools folder and choose “OPEN COMMAND WINDOW HERE”.

You will now need to enter 4 sets of commands. Here’s the four set of commands:
adb kill-server. Press enter
adb start-server. Press enter
adb connect “IP address of Fire TV” (my case = 192.168.1.33 as seen in the photo earlier). Press enter.
adb install “name of apk”. Press enter.
Screenshot to explain better:

For the last step, as the name of the APK is quite long, you can just do a rename in windows and copy the whole name (with extension) and then when back to the command window, do a PASTE via the MENU:
Example: COPY the whole file name including EXTENSION

And paste:

And if successful,

You can also install the other SPMC version, as they have different signatures, so they are completely independent from each other (i.e., will be installed as separate apps).

Finally you can also copy the keyboard.xml file over via this command:
adb push keyboard.xml /sdcard/android/data/org.xbmc.xbmc/files/.xbmc/userdata/keymaps

When new updates come, you can use adb install -r “new-apk-file-name” to update without losing all your settings.
Step 6: Some set up in XBMC
After running XBMC for the first time, for the Gotham version, at this time, you need to know that “Currently, only Libstagefright video acceleration is working. MediaCodec acceleration should be disabled”
Example:

Set up passthrough if you have an AVR (audio video receiver) that can decode DTS and DD

And that does it ! 🙂


FINALLY A DECENT WALKTHROUGH. THANK YOU!!!!!!!
Thanks, very nice tutorial, I followed it and everything worked great.
Oh and 1 more thing, I’m new to XBMC and it took me awhile to find those video settings, so for anyone else, in the Video settings in xbmc, you have to turn on the Expert settings first. then you can see the codec setting under Acceleration.
Thanks a lot for this tutorial!!!
Thanks a lot.
When I right click as in step 5 on platform-tools I do not get open command window here box….could it be I’m using xp
Does it work if you press and hold the SHIFT button and right click
Thanks for quick comeback…….No it didnt work must be a xp thing!
Got it working with laptop with Win 7 installed.
Thanks
I installed the beta version 1 a few days ago, and now I want to change it to the beta 2. My question is don’t you have to connect to the device with your IP again?
Yes you need to do the 4 statements again. To be exact,
adb kill-server. Press enter
adb start-server. Press enter
adb connect “IP address of Fire TV”
adb install -r “new-apk-file-name”
(the last statement is the “new” version and the “-r” will ensure that your settings are NOT overwritten)
How would I clone my xbmc setup on fire tv (my settings and addons) and then install them on my second box so I don’t have to redo everything? ?
http://wiki.xbmc.org/index.php?title=Add-on:XBMC_Backup
I can’t get the keyboard.xml to work, It transfers over but does not operate using the keys specified. Any clue?
Go to file manager in Xbmc
Under specials://profile/
Check that you have a folder called keymaps (note this is a FOLDER)
Under this folder, check that you have your keyboard.xml
Frequently, people are missing the keymaps folder
Thanks for the detailed tutorial! Tried from one of the sites you list at the top, but downloaded the wrong software. Your links made the difference! Now, I’m playing with content. And it looks like I will need to slighly restructure my network drive files. No problem.
Is there a way to pin this to the FireTV main screen?
You can use this:
http://kodi.wiki/view/Amazon_Fire_TV#Launch_Kodi_from_an_Existing_App_on_the_FTV_Home_Screen
the ADT bundle is now replaced by Android Studio, the latest adt bundle is 22 July 2014, download the archive @
http://stackoverflow.com/questions/27449206/what-is-the-final-version-of-the-adt-bundle